At times a user may want to schedule a door to unlock or an
input to be disabled as a one-time
event. Since version 3.9.50, a pre-built
Event Scheduler screen has been included with the default project file (An example file is attached at the bottom of this article for projects created prior to version 3.9.50). The Scheduled Events feature allows the user to schedule events that happen on an irregular basis. This article will focus on creating scheduled events, not on customizing the
event scheduler screen. For more information on customizing screens please see the Reference Guide. For events that occur on a regularly scheduled basis, standard hardware scheduling capabilities / System Time Zones are recommended instead of scheduled events.
To create a scheduled event, do the following:
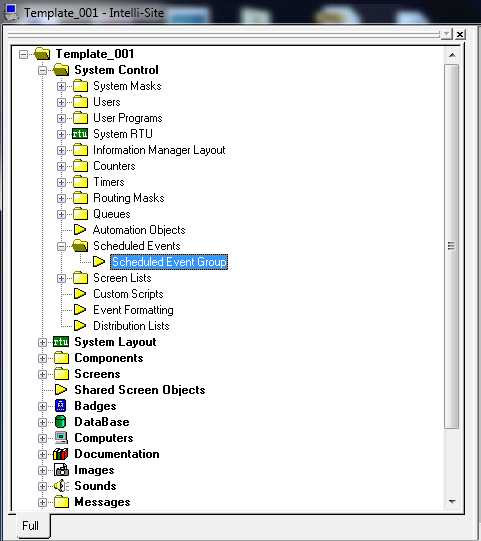
- In design mode, expand System Control->Scheduled Events->Scheduled Events Group.
- Right-click on Scheduled Events Group and select "Add Node and Edit". This will create a new Scheduled Event node and open it for editing.
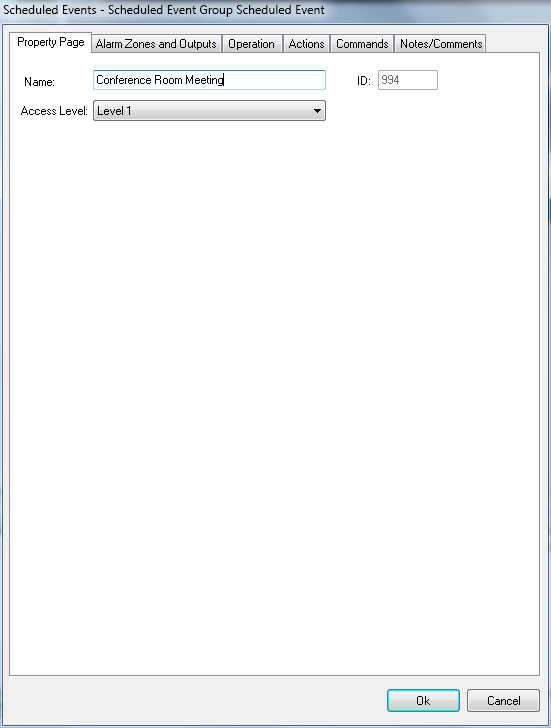
- On the Property Page tab, give event a descriptive name.
- Click on the Commands tab. In the "Actions on High" table, add the actions and targets you want to occur when the event begins.
- In the "Actions on Low" table, add the actions and targets you want to occur when the event ends. Typically the "Actions on Low" will reverse the "Actions on High". If the "Actions on High" unlock a door then the "Actions on Low" will lock the same door. In the example below, when a meeting in the Conference Room is scheduled to begin, the Conference Room South Door and North Door will unlock and the motion detectors in the hallways will be disabled ("Actions on High"). When the meeting is over, the conference room doors will lock and the motion detectors will be enabled ("Action on Low").
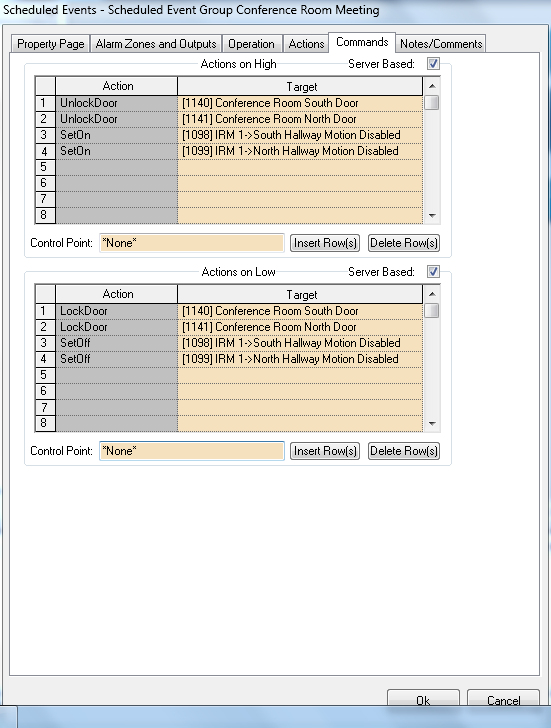
- Check the box for "Server Based:" under both sections to ensure the events will still occur even if the Workstation is logged off.
Repeat these steps for each type of event to be scheduled.
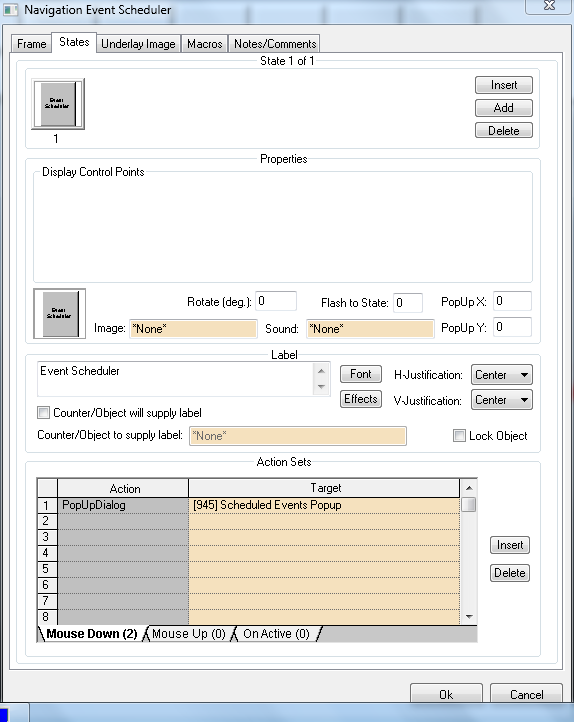
Once the event has been created, you will need to provide a means to trigger or schedule the event. This is often done by a screen object that brings up the Scheduled Events popup screen. Add a button to a screen the user has access to and set the action on "Mouse Down" to "PopupDialog" with the target to the Scheduled Events Popup screen from the tree under screens.
To schedule an event, simply click on the button and pop up the "Scheduled Events Popup" screen.
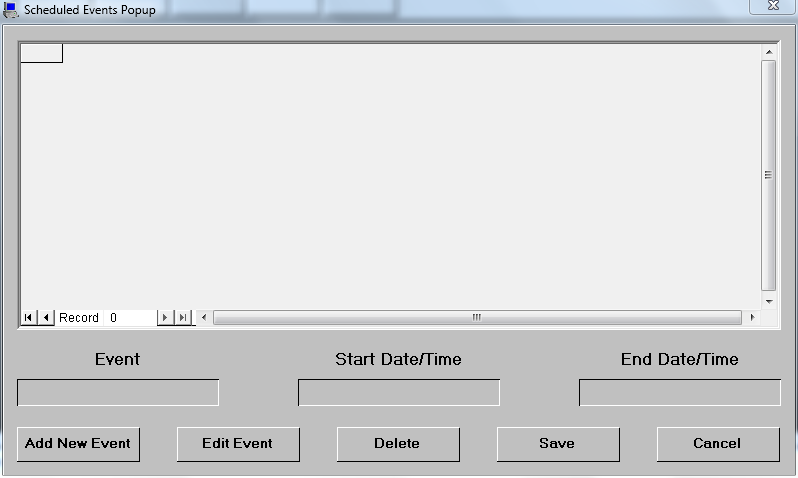
- Click on <Add New Event>. The "Event", "Start Date/Time" and "End Date/Time" fields will become active.
- Specify the event, start date and time as well as the end data and time.
- Click <Save>.
The event is now scheduled. When the start date and time occurs, the "Actions on High" will run. At the end date and time, the "Actions on Low" will run.
Products
APPLIES TO
- Intelli-Site Enterprise v.3.9.x
- Intelli-Site Global v.3.9.x
- MASC v.3.9.x
Copyright © 2013 OSSI, LLC. All rights
reserved.
Intelli-Site®
is registered in U.S. Patent &
Trademark Office.
All other registered and unregistered
trademarks are the sole property of their
respective owners.


